


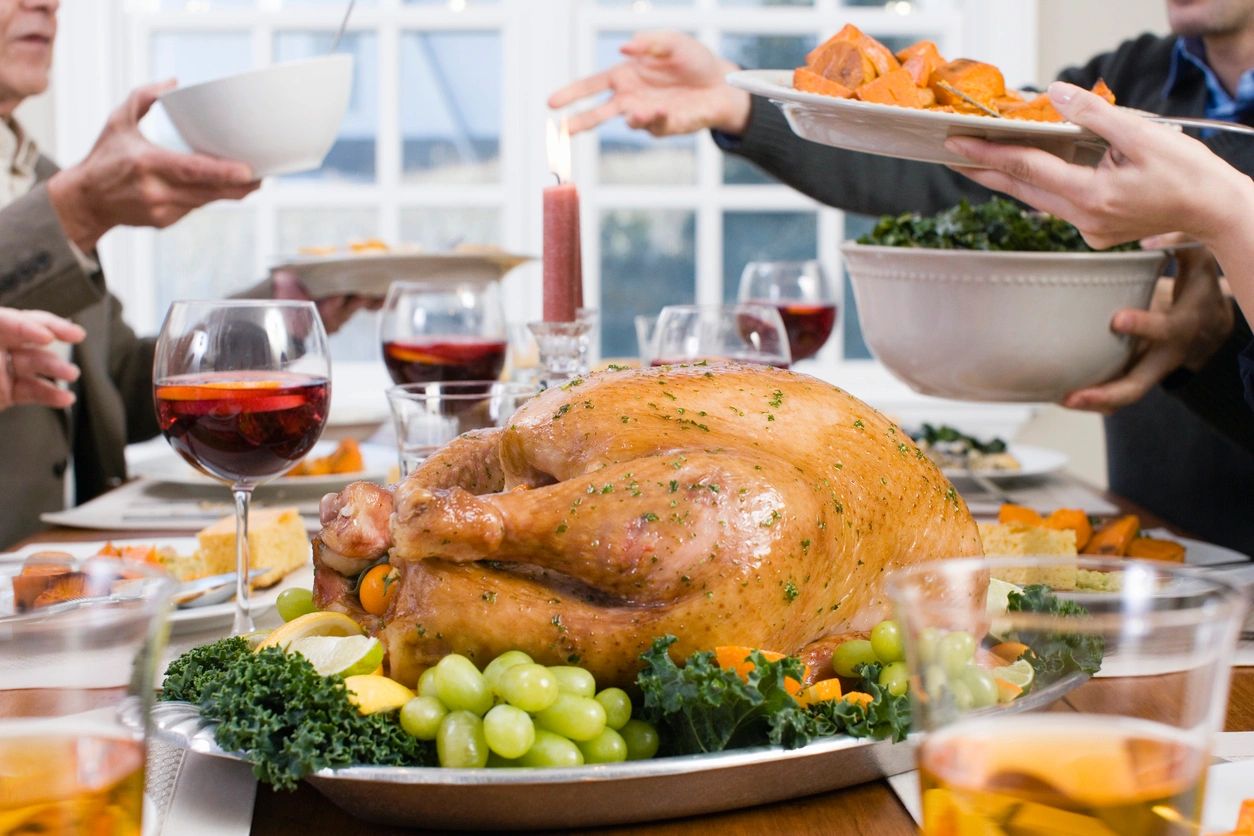
My favorite time of the year is here. Thanksgiving (in the US) is a fantastic day of feasting, and, for a lot of people, it’s the main time of year when everyone puts their best foot forward to try to cook something from scratch. If you’re not an experienced cook, planning a large meal from scratch can bring some stress.
Here I’ll give a recipe to make the turkey roasting go as smoothly as possible. Please make sure you read the whole article at least a few days prior to doing this to avoid last minute issues. Roasting turkey isn’t hard at all, but it is not a dish you can procrastinate.
Planning Ahead
If you haven’t already acquired a turkey, you should do that immediately after finishing this article. Most turkeys will come to your grocery store frozen, and it will take days to thaw. Plan on about 1.25 lb. per person; that should be plenty of turkey for everyone to eat while still leaving a substantial amount for leftovers (turkey tetrazzini!).
Try not to get a self-basting turkey or one that’s been brined already. Organic is good. Most will have some excess water weight; that can’t really be helped for most of us without access to very fresh turkey. I put a note down at the bottom of this with some other concerns for those who are wondering about some animal welfare.
Put the turkey in the refrigerator to thaw when you get home. I’ve already said this once, but seriously…don’t wait. The recipe requires salting the turkey for at least 24 hours prior to roasting, and you need the turkey thawed before that.
Some Special Equipment
You will need something to roast the turkey in. I really don’t recommend those flimsy disposable aluminum baking pans. I find they make the bottoms of the turkey soggy, and they’re prone to deformation. It’s a bit of a splurge, but a good roasting pan is worth the expense. A pan with a removable V-rack is the most versatile; I personally own this one.
Make sure you have a thermometer as well. It doesn’t have to be one of those overpriced fancy wireless ones, but you can’t determine doneness correctly without one. My thermometer is a basic digital one meant for cooking that cost maybe $10.
Perfect Roast Turkey (Serves 10-12)
I’ll give the recipe developed by America’s Test Kitchen in The Chicken Bible. For the most part, I leave this one unaltered, though I’ve added a substantial number of clarifying comments. If you have a smaller turkey, none of the other ingredient amounts change. If your turkey is 20 lbs. or larger, increase the salt and sugar amount by 50% so you’ll have enough to make the rub.
The total time on this one is 3.5 hours after the salting time. Ovens take a while to preheat, so plan on 4 hours from the time you turn the oven on to the time you are carving into the bird.
Equipment
- roasting pan
- baking stone (optional; I’ve used a regular metal rimless baking sheet with plenty of success)
- kitchen twine
- rimmed baking sheet
- wire cooling rack
- butcher’s block or carving board (You need somewhere to put the turkey to rest).
- carving knife. (You can get one meant for this, but I’ve found a 6″ straight utility knife suffices.)
- aluminum foil
- mesh strainer
- medium bowl
- large saucepan (12″-14″)
Ingredients
- 1/4 c. kosher salt (don’t substitute regular table salt here)
- 4 tsp. sugar (You can omit this, but it will help crisp the skin up nicely as it caramelizes. You won’t notice the taste at all.)
- 1 (12-14 lb) turkey
- 2.5 tbsp. olive oil
- 1 tsp. baking powder
- 1 onion, chopped fine
- 5 springs fresh parsley (optional)
- 2 bay leaves
- 5 tbsp. all-purpose flour
- 3.25 c. water
- 1/4 c. dry white wine
Instructions
- Combine salt and sugar in a bowl.
- Place thawed turkey breast side up on a clean counter. Using wads of paper towels, dry out the cavity of the bird. Remove giblets and neck and save for the gravy.
- Using your fingers, gently loosen the skin that covers the breast, thighs, and drumsticks. (This feels really weird.)
- Rub 4 tsp. of the salt mixture under the skin of each side of the breast, 2 tsp. under the skin of each leg, and the remaining salt mixture inside the cavity.
- Tie legs together with kitchen twine (a handcuff knot works well here)
- Place the turkey on a wire rack set in a rimmed baking sheet and refrigerate uncovered for at least 24 hours (but no longer than 2 days).
- 30 minutes before you want the turkey to go in the oven, adjust the oven rack to the lowest position, set the baking stone (or metal rimless baking sheet) on the oven rack, then set your roasting pan on the baking stone (baking sheet). Preheat the oven to 500F.
- Combine 1.5 tsp. olive oil and baking powder in a small bowl.
- Pat the turkey dry with paper towels inside and out.
- Rub the oil mixture evenly over the turkey.
- Cover the turkey breast with aluminum foil.
- Carefully remove the roasting pan from the oven and drizzle 2 tbsp. olive oil into the pan.
- Place the turkey breast-side up into the pan and return to the oven.
- Reduce oven temperature to 425F and roast for 45 minutes.
- Remove the foil, reduce the oven temperature to 325F and continue to roast until the breast registers 160F, 1-1.5 more hours.
- Remove pan from oven and carefully transfer the turkey to a carving board. You may need a spatula to loosen it from the bottom of the pan. To make the transfer, you can use two thick wads of paper towels and lift it yourself. Alternatively you can take two long set of tongs, shove them into the cavity (one from each side) to move it.
- Let the turkey rest uncovered for 45 minutes. Do not skip this step.
- While the turkey is resting, we’ll make the gravy. Scrape any browned bits from the bottom of the pan and strain the remaining liquid in the roasting pan through a fine-mesh strainer into a bowl.
- Add water into the bowl as needed to make 1 cup.
- Heat bacon grease, oil, or some fat you may have reserved from the turkey in a large saucepan over medium heat.
- Add neck and giblets and cook 10-12 minutes until well-browned.
- Transfer the neck and giblets to a large plate.
- Reduce heat to medium. Add onion, parsley and bay leaves. Cook until onion is softened (about 5-7 minutes), stirring frequently.
- Add flour and cook, stirring constantly, until the flour is well coated with fat. This should only take a minute.
- Slowly whisk in the reserved turkey juices/liquid from the bowl and cook until thickened (1 minute).
- Whisk in the 3.5 c. water and the wine, return neck and giblets to the pan, and bring to a simmer.
- Simmer 10 minutes, then season with salt and pepper to taste.
- Discard neck and giblets at this point (I let the dogs munch the giblets and the neck meat for a treat.)
- Strain the gravy through a fine-mesh strainer, discard the solids, and transfer the gravy to a pretty serving bowl or gravy boat.
- Carve the turkey and serve with gravy.
Further Notes on Turkey
Most turkeys in the United States are an industrial breed. These turkeys cannot reproduce without artificial insemination, as they grow too large too fast to properly mate. In contrast, heritage turkeys are one of several more natural breeds whose lifestyles resemble that of wild turkeys much more closely. They can reproduce naturally, and they typically are free-range and roost in trees or special coops. Heritage birds will have less breast meat compared to industrial breeds, tend to be smaller, and are older at the time of slaughter. They are also hard to find and quite a bit more expensive. Even organic and free-range turkeys likely are industrially bred; the label will say “heritage” on the package if the turkey is a heritage breed. Personally, my household has chosen not to consume any industrially bred turkeys out of concern for the genetic biodiversity that is lost with large-scale industrial breeding and the unnatural lives of these corporate-bred birds.